Establishing a Player Overview
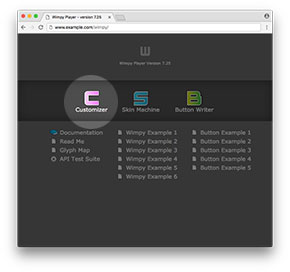
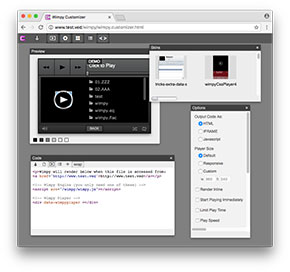
Use Customizer to generate the required HTML code for you. Customizer makes it easy to set options and playlist. Customizer is availalble in the wimpy installation folder (WIF).
Or if your familiar with HTML it's easy to define a player manually by hand-coding player options without the assistance of Customizer.
Regardless of how the HTML code is generated, getting the code situated within your page is explained below.
Incorporating Wimpy Player into a webpage
There are 3 ways to integrate wimpy into a web page.
1. With HTML
Reference the Wimpy Engine, then add a player, which is a simple DIV tag with the special "data-wimpyplayer" attribute, which is used by the engine to discover players. Player options (such as skin, playlist, etc) can be added to the DIV tag using Customizer, or manually.
<script src="/wimpy/wimpy.js"></script>
<div data-wimpyplayer></div>
2. With an IFRAME
This is the simplest method and only requires a single line of code. You can modify the wimpy.iframe.html to add/remove player options.
<iframe src="/wimpy/wimpy.iframe.html"
width="300" height="600" frameborder="0" seamless="seamless" scrolling="no"></iframe>
3. With Javascript (advanced)
This method is for advanced users who prefer to render the player via javascript at specific points during the page's lifetime.
<script src="/wimpy/wimpy.js"></script>
<script>
var myPlayer = new wimpyPlayer();
</script>